Wednesday, August 28, 2013

Melon Ball Cocktail


As much as I love love love FALL, 
I find that I have to breathe into a bag if I think too hard about the short melon season. 

When we lived hundreds of miles from civilization, we would drive through Green River to get school clothes and I would bring a huge knife and some spoons.  We'd stop and load up the trunk with melons, cut several in half, scoop out the guts, and dig in. 

 We were juicy messes.  We were in heaven.  


Why isn't this melon ball cocktail in balls you ask?


Well, I can't find my baller. 


Not that baller.

It was probably used as a weapon.


A juicy, ripe melon is so sweet and luscious.  It really doesn't need any dressing up. But when you want to bump it up a notch, here's a great recipe.  The lime rind is the perfect compliment to melons, especially honeydew.  And the rum flavoring adds a touch of warm butteryness to offset all that tart.  
  

Enjoy this fresh fruit cocktail.  It's a good one.


Melon Ball Cocktail
2/3 cup sugar
1/2 cup water
1 t. grated lime rind (get the rind BEFORE you squeeze the juice)
1/2 t. Rum extract
6 T fresh lime juice

1 honeydew, balled
1 cantaloupe, balled
1/2 watermelon, balled
1 cup blueberries


Bring sugar and water to a boil, simmer for a few minutes.  Add lime rind.  Cool and add, lime juice and rum extract.  Chill a few hours.

Note: Any fruit works, I subbed strawberries for the watermelon, but the honeydew works especially well with the lime and rum. 


So what do you do with the melon scraps after the balls are made?

A) Get a spoon and a towel and sit down to Duck Dynasty.
B) Put in a Ziploc bag in the freezer for smoothies, mixed with Greek yogurt and frozen banana.
C) Blend up, add to some lemonade.
D) All of the above


Posted by: Rona


Pumpkin Cake (or Cupcakes) with Cream Cheese Frosting


Dagnabbit.

I broke my own rule 
(#544 - don't make pumpkin stuff before September)
but it rained...
and was all chilly like outside...
I caved like a fat kid in a candy store. 


Pumpkin Cupcakes with Cream Cheese Frosting

So it just felt right.


I bumped my old recipe for this one when my beautiful daughter-in-law brought it to Sunday dinner one lovely fall day.  
It got devoured with great fervor.
 (She obviously runs hers off)


And they stay moist for days... say you stash them in random places throughout the house for later.

  
A little finger dippin' before the whole face goes in.


Pumpkin Cream Cheese Cake (or cupcakes)

4 eggs
1 2/3 cup sugar
1 cup oil
1 16 oz. can pumpkin (not pumpkin pie filling)

2 cups flour
1 t. salt
1 t. soda
2 t. baking powder
1 t. cinnamon
1/2 t. nutmeg

Mix together the eggs, sugar, oil, and pumpkin.  Sift together the dry ingredients and carefully mix into the wet.  Pour mixture into a greased large sheet pan - like the cookie sheet with sides one.  Bake at 350 degrees for 20-25 minutes.

If making cupcakes, bake about 18 minutes.  Makes about 32.

Cool and frost with cream cheese frosting and grate whole nutmeg on the top for garnish.

Cream Cheese Frosting
2 -8 oz. packages cream cheese
1 cup butter, room temperature
1 -2 lb. bag powdered sugar
1 T. vanilla

Beat until smooth and creamy.   Makes enough to generously frost the cupcakes.  

Posted by: Rona

Tuesday, August 27, 2013

Easy Cheesy Lasagna

When we started this blog, we soon realized that even though we cook a lot, we wing most stuff and aren't real good at following recipes.  

This was no exception...


Easy Cheesy Lasagna

There's lasagna made with love (Italian sausage, homemade sauce, five different cheeses), and then there's... 
lasagna made with love in the real world.  
(You know, when you got a lot more going on in your life than simmering and chopping all day.)   

And that's precisely what this  recipe is.  
Super easy, barely saucy, really cheesy lasagna.


 This little redhead pounded it down.  
"Whoever I point to makes the best Bizanya!" he announced.  
I held my breath, and as fate would have it, I got the finger.


Of course I doubled this, but hey - it's always better the next day, right?  Plus we ate this about 8:30 and were extra famished, then the Elders stopped by who were also famished, stuck a little in the freezer and we still had plenty for breakfast the next day.  
I know I have scaling back issues.
I'm working on it. 


 In the top ten comfort foods. 

Easily.

Since I've never actually used a recipe for lasagna, here's a flexible rundown of what I did

Easy Cheesy Lasagna

1 package lasagna noodles
1 lb. hamburger
1 can spaghetti sauce (I use Hunt's - the parmesan kind - you can get it on sale cheap and it's not bad)
1 29 oz can crushed or diced tomatoes
1 container cottage cheese
1 egg
parsley - Oh, I'd say a small handful
4 cups grated mozzarella cheese
parmesan cheese

Spray a 9 x 13 with Pam, or grease.   Brown hamburger in a heavy pot (I like getting a little sear on it for flavor), season generously with salt, pepper, onion powder, and garlic powder.  Drain off grease and add sauce and tomatoes.  Simmer gently for about 1/2 hour (or more if you have time), until the meat is tender, stirring occasionally.

In a blender or food processor, blend the cottage cheese, egg and a little handful of grated parmesan cheese, and some parsley.  Blend until smooth.  

So the assembly begins...  Start with a small amount of sauce, ladled on the bottom so the noodles don't stick.  Divide the noodles into thirds, lay a third of them down.  Spread 1/3 of the cottage mixture over, then 1/3 of the sauce, then the mozzarella.  Repeat as needed. This would be needed two more times.  End by sprinkling parm over the mozzarella.  

Cover with foil.  Bake for about an hour at 350 degrees.  Remove the foil, give it another 15 minutes until lightly golden on top.  
Watch this time closely - mine took that long because I had simmered the sauce the day before, everything was cold, so you may need to knock off 15 minutes.

Recover with foil, let it sit for 10 minutes or so, while you put together some form of garlic bread and toss that salad.  

NOTE:  I never cook the noodles ahead of time.  You just don't need to. So what I do is  pour a cup of water over the assembled lasagna before baking, let it sit for and hour to absorb and you're good to go. Yeah I've done this lazy little shortcut  for about 30 years and it hasn't failed me yet.  


Lasagna, brings out the Italian hugger in me.

Posted by: Rona


Monday, August 19, 2013

Greek Bulgar Salad

Fall's a comin'.  You can smell it in the air.  

But it's not here YET!

Summer loving, had me a blast.  
And that is due in part to fresh main dishes
such as 
Greek Bulgar Salad


A little bit of hearty, a lot of fresh. 
Plus it comes together so quickly, you can get where you need to be - OUTSIDE!


Tastes really great the next day, but don't put the spinach in until you're ready to eat it.  


Summer days, drifting away.
But ah, oh those SUMMER NIGHTS.
wellawellawella


Greek Bulgar Salad

3 c. cooked bulgar, al dente and cooled (this cooks up really fast and easy - cook in salted water)
3/4 cup sundried tomatoes, sliced thin (in olive oil)
1 cup feta cheese, large crumbles
1 English cucumber, diced
1/2 cup Kalamata olives, halved
handful of roasted cashews (optional)
4 cups spinach leaves, thinly sliced

Greek Vinaigrette
1/2 cup red wine vinegar
1 garlic clove, minced
1 t. dried basil
3/4 t. onion powder
1 t. Dijon mustard
1/4 cup olive oil 
Salt and Pepper to taste

If necessary, cool down cooked bulgar by rinsing in cold water.  Mix with olives, cucumbers, spinach, and oven dried tomatoes.  Add the dressing and then gently (trying not to break it up) add the cheese.  Serve at room temperature for better flavor.

For vinaigrette, mix together all ingredients except the oil until blended.  Lastly, whisk in the oil. 


Posted by Rona


Adapted from Studio 5


Wednesday, August 14, 2013

Cinnamon Sprinkle Sour Cream Banana Bread


That title is really a mouthful!  I am always finding myself with over ripe bananas, and I think it's safe to say we make banana bread almost weekly, and THIS is the recipe of all recipes.  The cinnamon sugar adds such a great touch, and the sour cream really does a fabulous at making sure this will not be dry-even several days later (but it probably won't last that long)

In your mixer cream together:
1/2 cup oil
3 eggs
1 1/2 cups white sugar
1 1/2 cups brown sugar
1 16 oz. container of sour cream (you can use light)
7 really ripe bananas
2 tsp. vanilla extract
3/4 tsp salt
2 tsp cinnamon

Once that is well combined, and the bananas are mashed, add 4 1/2 cups of flour and 1 tablespoon of baking soda. 

Spray 2 loaf pans (or 3 smaller ones) with nonstick spray, then dust with cinnamon sugar (just as you would when greasing and flouring a cake pan)  This step is KEY to making a delicious sugary edge.  Sprinkle tops with an additional 2 TB of cinnamon sugar each.  Bake at 325 for about an hour.  Let loaves cool for 15 in pan before turning them out.

It's the perfect after-school snack and also makes a delicious breakfast!

Posted by: Tiffany :) 

Sauteed Mushrooms (done right)

Black Angus Ribeye (medium rare) + Sauteed Mushrooms 
= an out of body experience.
I'm just sayin'...

Sauteed Mushrooms done right; not soggy, 
lightly caramelized and seasoned to perfection. 

I have secrets and I'm not afraid to share:

 Secret #1:  
Don't wash under running water.
Our fungi friends are quite absorbent and will soak up the water like a sponge.  End result will be soggy, boiled, steamy mushrooms. 

Instead, lightly wipe shrooms with a damp paper towel.  

  
Secret #2:  
Add garlic when almost done.  
Garlic burns easily.  Burnt garlic is nasty, bitter, horrifying. You'll want to saute these at a medium high/high heat which will kill your garlic way too early.


   Secret #3:  
Bacon grease.  
It will knock your socks off.  
It's a sock-knocker-offer.


Sauteed Mushrooms (done right)

2 packages mushrooms, washed and sliced
1/4 cup bacon grease (saved from last night's BLT's)
2 garlic cloves, mashed or finely chopped
salt and pepper
fresh thyme, if desired (about 1-2 T)

Heat skillet hot hot hot.  Add the bacon grease, when it's almost smoking, add the mushrooms and saute until golden brown, stirring frequently (but gently).  Add garlic, go another few minutes. Season with salt and pepper.  It's now a good time to add the thyme.

Option:  You can add a little butter for more great flavor, but do it after they are golden. 

Another Option:  If you don't have bacon grease, use Canola oil, and add butter at the end.  Won't be as good.  Don't say I didn't warn you.


Ever been to orbit?  
Pack your bags 'cause you're going there.


Posted by: Rona

Tuesday, August 13, 2013

PB Cookies

(Not my photo. All PB cookies look the same.)

Here is your recipe for the sudden sweet tooth cravings for home baked goods or when you need to whip up something quick for the neighbor.  ONLY 3 INGREDIENTS!

*1 cup sugar (I usually add a tiny bit more to stiffen up the dough)
*1 egg
*1 cup peanut butter (Any kind will do...crunchy, creamy, natural...)

Bake at 350 for about 10 minutes. Makes about 1 dozen. 


Sara

Chicken Poppyseed Pasta Salad


 Of all the pasta salads we make, this one is the 
most requested.

 It is sooooo good.

How good is it you ask??


Even the little lady couldn't stay out of it.


It can also be served as a main dish.  
Just put over some nice greens and serve with a great bread.


You won't be chopping veggies all day either. 
Mostly dumping things into your hugest bowl.


It makes enough to feed a  small village.
I've got 23 offspring now, I'd say that's a small village.


It's Shalie's most favorite food ever. 
Steel's not so sure yet.


It's the goodest one. 
That's how good.

Chicken Poppyseed Pasta Salad

1 lb. pasta - I usually use Bowtie or Rotini (the veggie pasta is my favorite, much prettier than plain)
3 bottles Brianna's poppyseed dressing (I've subbed out off brands to save $$$, but it's not quite as good)
5 cooked, cubed chicken breasts (If I'm short on time, I'll pick up a couple roasted chickens from Sam's Club instead.  I've also used canned chicken breast - like 4-5 of them, but this is my last resort)
2 bunches green onions, sliced
3 cans mandarin oranges, drained
few huge handfuls fresh bean sprouts (If you can't find fresh - leave out!  Don't use canned)
1/2 bag frozen peas (I like that baby peas best, more tender)
few handfuls almonds (I think dry roasted almonds roughly chopped are the best, but I've also used slivered and sliced)

Cook pasta al dente in salted water, drain and rinse in cold water.  Mix everything together gently.  Salt and pepper to taste although you won't need much of either.  Tastes even better the next day. 


Posted by: Rona

Friday, August 9, 2013

Orange Fennel Salad


 Bright and fresh with a hint of wowza... 


 Fennel is an intriguingly odd duck...

It has a very unique flavor that is somewhat like black licorice. 'Somewhat' as in a crisp peppery flavor, not 'somewhat' as in you just threw a handful of Good and Plenty's in your salad.  

Arugula also has a strong flavor, sort of peppery.  I  think it's more of an herb than a salad green, but is awesome nonetheless as a green.  If it's a little too much, mix it with some spring greens.

Some things are just meant to go together (grilled cheese and tomato soup, Christmas eve and flannel jammies, Route 66 and a Harley, Honey Boo Boo's mom and Sugar Bear, vanilla ice cream and hot fudge, Birkenstock sandals and socks...).

Fresh orange is the perfect match to the peppery arugula and savory fennel.  The citrussy brightness compliments to a tee.


We served this with an amazingly tender grilled pork loin (which was really the star of the show).   It was kind of the 'wind beneath the pork loin's wings'. The one without the glory. It didn't know it was the hero.


Too bad these guys had to go back to Utah.
And to make it worse, they took 4 of our grandkids with them.  
We were on an awesome food frenzy.


Orange Fennel Salad


Dressing
3 T orange juice (squeeze the oranges after you've segmented them)
1/4 cup olive oil
1/2 t. salt
pepper to taste
1 T fennel fronds (this would be the hairy top part of the fennel)
1/2 t. onion powder (or leave out this and add thinly slice red onion to the salad)
1/2 t. orange zest (zest first, then cut segments, then squeeze juice)

3 cups arugula
*3 large oranges, peeled and cut into segments
1 medium fennel bulb, cut in half lengthwise, cored, and thinly sliced
handful of toasted pecans or almonds

*Use a razor sharp knife for this, you don't want any membrane or white pith. If that sounds like a pain in the butt, just use clementines.  Peel, and thinly slice.  The membrane on those won't try to choke you near as much as an orange.


Thursday, August 8, 2013

Chia Thingies

Ch Ch Ch Chia

You just sang that jingle, didn't you?

But you only know the first line (Is there even a second line?), and now it will be in your head all day. Sorry.

Actually, if I'd have known back in the 70's the remarkable nutritional value of the humble powerhouse Chia Seed, I would have licked clean that lil ol' clay donkey.

These Chia Thingies are a healthy way to get some serious nutrition into your system.  They are the perfect make-ahead breakfast, mid-morning snack, or even dessert.  

They are soooo easy, and soooo yummy.


Chia Thingies 


You can make these the night before, and take one with you to work in the morning.  It actually only takes about an hour for them to set up.  They kind of remind me of tapioca pudding, but so much healthier.


The Chia Seeds look like little black rocks, but when they are mixed with liquid, they form a clear gel like substance around them.  They absorb 10 times their weight in water making you feel fuller.

Well yuck, globulin type substance.  But trust me.


Chia seeds have more Omega 3 fatty acids than any other food, including salmon.  Plus there are 10 grams of fiber in 2 tablespoons of Chia Seed, not to mention they are loaded with cancer-fighting antioxidants... and vitamins and minerals.


I've been ordering them online from Amazon Prime (which may or may not have me on their Christmas card list), but I just saw them at my local Safeway. 

You don't need to grind these like flax seed.


I've tried this concoction with most kinds of fruit.  Berries are especially da bomb: blueberry, strawberry, raspberry, blackberry...


All ya gotta do is shake your groove thing.


Tupperware's got nothing on a mason jar.
It's the best receptacle for this.

Let it go.
Let go of the guilt. 
It's time to move forward with 
a  guilt-free Chia Thingy.


Chia Thingies

1 1/2 cups almond milk

3 T chia seeds
handful of fresh or frozen fruit
drop of vanilla 
Splenda or honey

Put in a pint jar, give a quick stir or shake up.  Wait.  Wait a little longer.  Stir it up.  Wipe the sweat from your brow.  Enjoy it.


Posted by: Rona


Wednesday, August 7, 2013

Creamy Spinach Pizza with Grilled Chicken


A couple months ago, we ate at a yummy Italian place that had all kinds of delicious pizzas.  I LOVE pizza.  I could eat anything in pizza form.  We are always experimenting with yummy, different types of pizza.  It's a quick meal to throw together any night of the week, and I always have ingredients for a good pizza dough.  The pizza my husband ordered, was white pizza with spinach and olives and topped with grilled chicken, we decided it needed to be replicated in our home, and it turned out divine!  "Birthday dinner worthy!" said my husband. 


Here's what I did:

1 C. hot tap water
2 tsp. yeast (if i'm in a hurry, i'll bump it up to 1 TB)
1 TB sugar

Let these three sit and get bubbly and happy, happy, happy right in your mixing bowl.  Once the yeast is nice and activated, add flour gradually ( I use about 2 1/2 cups) and 2 tsp. salt.  Knead for a few minutes.  Now, if you have time, let it rise until double before rolling out, if it's 5:00 and you're just getting this thing going and you will have a hungry husband walking in the door any minute, then just let the dough "rest" for about 10 minutes, until it is nice and workable.  I like to bake my pizza at a very high heat and roll the dough nice and thin, but use your own preference.  If I am using my stone, I like to preheat it in a 500 degree oven.  If I'm using a normal pizza pan, then I don't preheat it, but I spread it will olive oil and bake at 450. 

Now on the sauce.  THIS is what takes this from good to DIVINE.  I used our famous alfredo sauce rather than a typical marinara or pizza sauce.  Spread generously onto the dough, then add a layer of spinach leaves and sliced olives.  Next, I like to add mozzarella cheese to cover and make sure the spinach doesn't get crunchy.  Bake until cheese is melted and bubbly, and top with thinly sliced grilled chicken.

Think of the possibilities!  I'm already thinking of so many different concoctions that would be great to throw together using this crust and sauce.  I made my kids their own "plain" one sans spinach and olives. 
Backyard dinner, eating this pizza... Does it get better than that?

Posted by: Tiffany

Monday, August 5, 2013

Pepper Pucks

Pepper Pucks (for lack of a better name)

These are the greatest!  

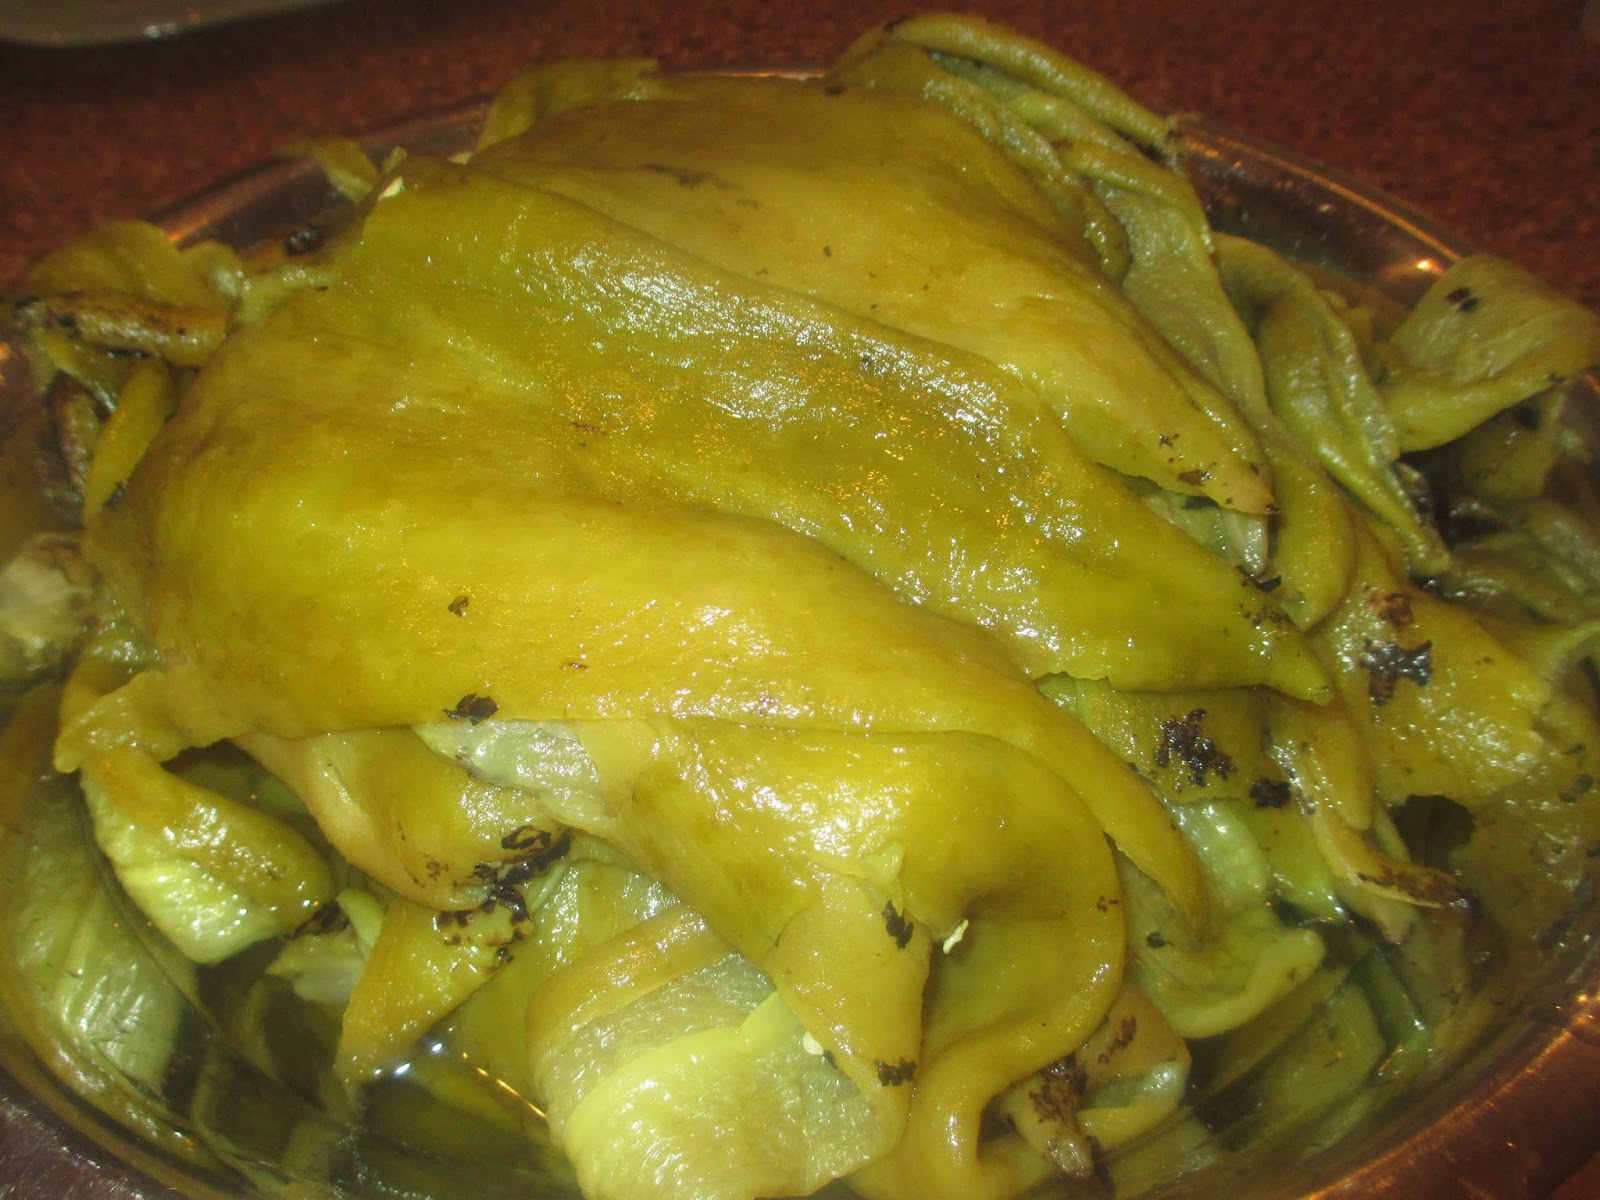
Little pucks of fresh green chilies that can be added all fall/winter/spring to soups, stews, chili, salsa and anything else.  If you're wondering if it's worth the effort, might I just say that these kick butt on the canned version.  

If you ever see Hatch fire roasted green chilies on the street corner (where they are actually roasting them), flip around, alter your schedule and pick up a case.  

The flavor of these is unmatched!!  The roasting brings out a tasty goodness like no other, gets that skin all charred and ready to be removed, plus the color is ten times brighter than canned.


If you grew your own chilies, you can do this in the oven.  Lay chilies on a baking sheet, broil until charred (you want the skin charred but not the pepper), flip over and do the same.  

I've done it this way many times.  Works great but not quite as good as the smoky, charred flavor of the fire roasted - which is why I almost took out a street sign, a curb and my bumper and a homeless guy while flipping a 'Ueee" when I spotted these. 

So once you have the charred chilies, put them in a Ziploc bag immediately for a while to sweat.  This will help ease the peeling process greatly.


To peel, rub most of the char off with your hands, give it a quick rinse to get the rest off.  Chili die-hards  shun the idea of rinsing in water but seriously folks (I think they take your first born or something like that), the charred bits will stick to you like those foamy packing thingies otherwise.


 It's all good to leave a little char on, but not too much.
You want "Oh, I see those are fire roasted. How nice."  
Not "What are those floating black chunks and did they get scraped off the bottom of the pot?".

Then with your hands, open up, slide the seeds out with your fingers and take off the stem. If your skeerd, put on rubber gloves.  But these are mild enough, not really necessary.  


Now pile in your food processor or blender and give enough pulses that they are chopped but not pureed. 


 With your ice cream scoop, fill muffin tins. Pat down a little.


Stick in your freezer and enjoy the kid's reaction when they go for a fudgesicle and wonder what they hayell mom is doing this time.


When solid (like overnight), remove from freezer, set the bottom of the muffin tin in hot water for about 10 seconds. Flip out on the counter and bag up those pucks of heaven.


 I think thar be some chili verde on ye horizon mates. 
I've been a cravin'.


These have the potential of becoming your BFF.